 HydroNode
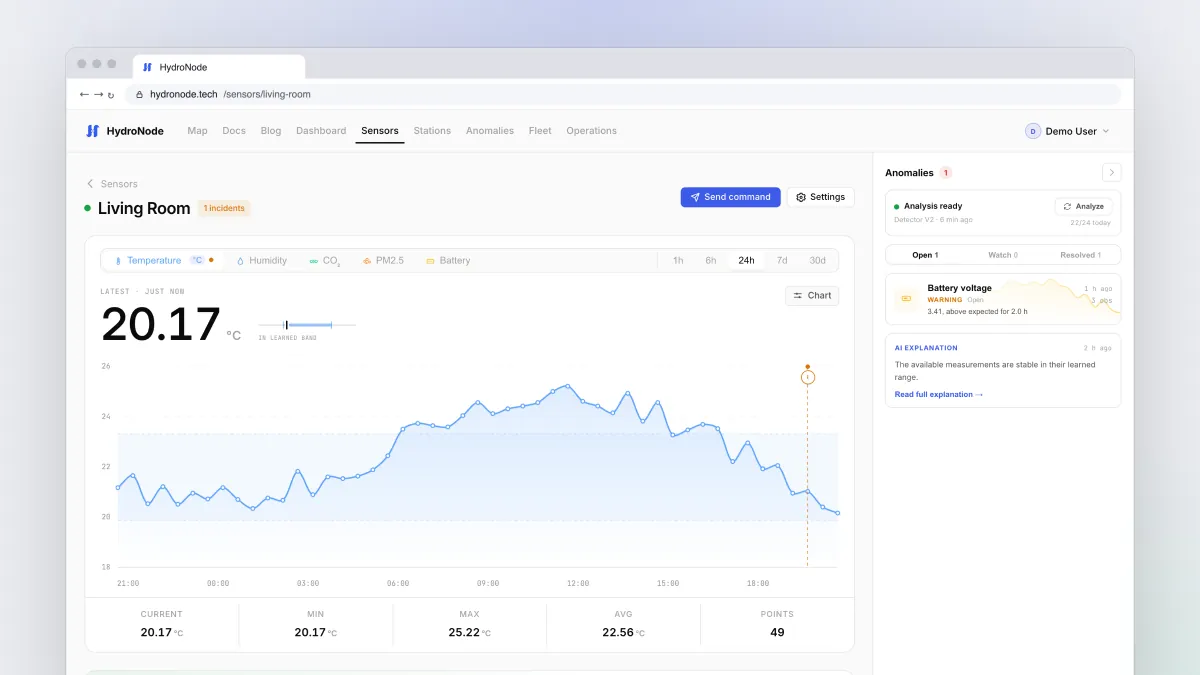
An ESP32, a BME280 and twenty minutes. By the end of this post, temperature, humidity and pressure land in HydroNode every minute, and you switch a relay from the app. The library takes care of WiFi, time, TLS and signing every request.
What you need
Get the Sensor ID and secret
- Open the sensorClick your sensor under Sensors.
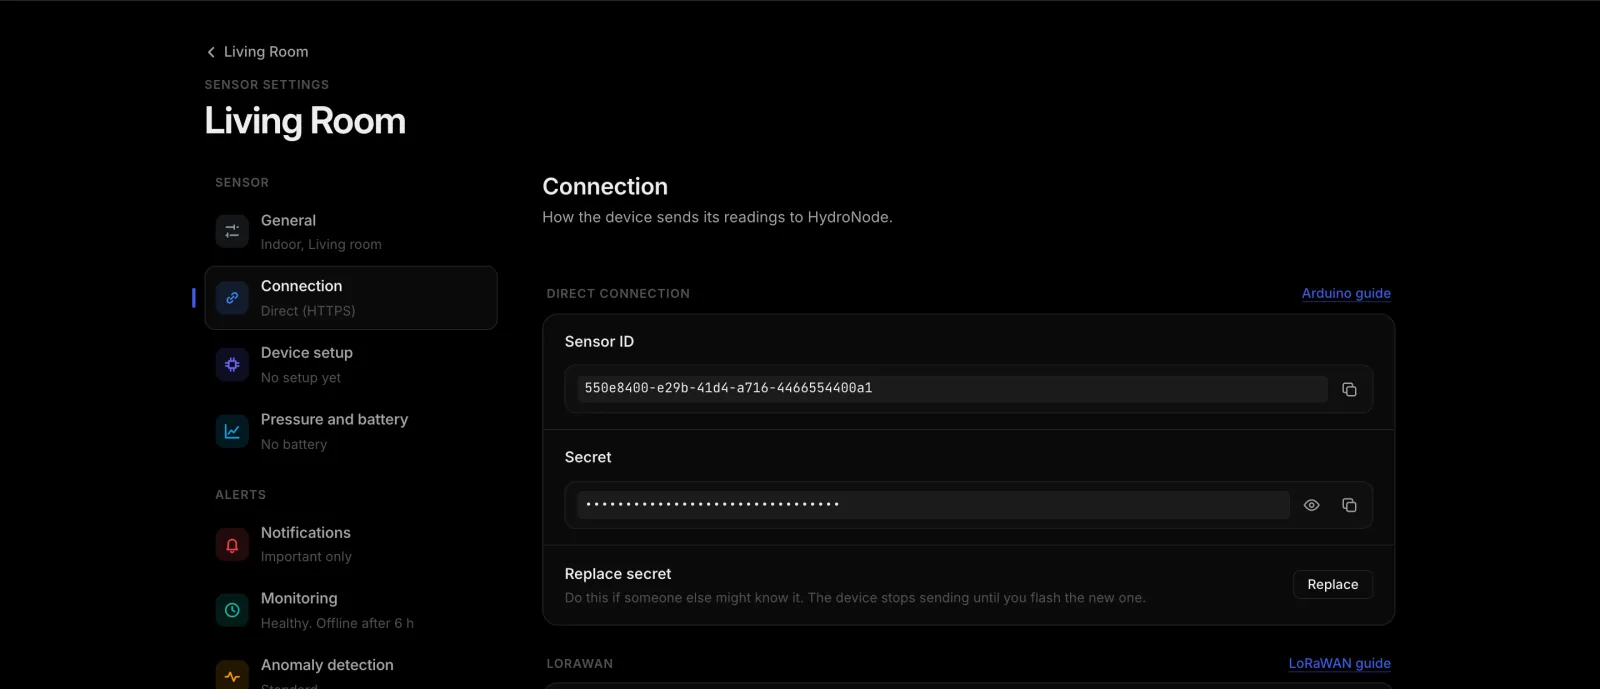
- Open its settingsPress Settings at the top right, then Connection on the left.
- Copy bothUnder Direct connection you find the Sensor ID and the Secret, each with a copy button. The secret belongs on your device only, never in a public repository.
Install the library
- Open the library managerToolsManage Libraries
- Search and installSearch for
HydroNode-Libraryand install it. The IDE offers to install ArduinoJson and ArduinoHttpClient along with it: say yes. - Add the sensor libraryFor the BME280, also install
Adafruit BME280 Library.
The PlatformIO registry does not always carry the newest version, so pin the Git tag directly:
[env:esp32dev]
platform = espressif32
board = esp32dev
framework = arduino
monitor_speed = 115200
lib_deps =
  https://github.com/TexhFexLabs/HydroNode-Library.git#1.7.0
  adafruit/Adafruit BME280 Library
Wire the BME280
Four wires: VIN to 3.3 V, GND to GND, SDA to GPIO 21 and SCL to GPIO 22. Those are the default I²C pins of a classic ESP32. With SDO on GND the sensor answers at 0x76, with SDO on 3.3 V at 0x77.
The sketch
Fill in your four values at the top and upload. sendValues() sends all three values of a round in one signed request, stamped with the time they were measured. That saves one connection per value, which is several seconds on an ESP8266.
#include <Wire.h>
#include <Adafruit_BME280.h>
#include <HydroNode.h>

const char* WIFI_SSID     = "YOUR_WIFI_SSID";
const char* WIFI_PASSWORD = "YOUR_WIFI_PASSWORD";
const char* SENSOR_ID     = "your-sensor-id";   // Settings > Connection
const char* SECRET_KEY    = "your-secret-key";  // Settings > Connection

HydroNode hydro(SENSOR_ID, SECRET_KEY);
Adafruit_BME280 bme;

void setup() {
  Serial.begin(115200);
  hydro.setDebug(Serial);  // prints every request and answer

  if (!bme.begin(0x76)) {
    Serial.println("BME280 not found, check the wiring");
  }
  while (!hydro.connectWiFi(WIFI_SSID, WIFI_PASSWORD)) {
    Serial.println("WiFi failed, retrying");
  }
  hydro.begin();
}

void loop() {
  HydroNodeValue reading[] = {
    {"TEMPERATURE", bme.readTemperature()},
    {"HUMIDITY",    bme.readHumidity()},
    {"PRESSURE",    bme.readPressure() / 100.0f},
  };
  int codes[3];
  int status = hydro.sendValues(reading, 3, codes);
  Serial.printf("HydroNode answered %d\n", status);

  delay(60000);  // one round per minute
}- ReadBME280 over I²C
- sendValues()One signed HTTPS request
- 202Values stored and charted
- CommandsArrive with the answer
Check that the values arrive
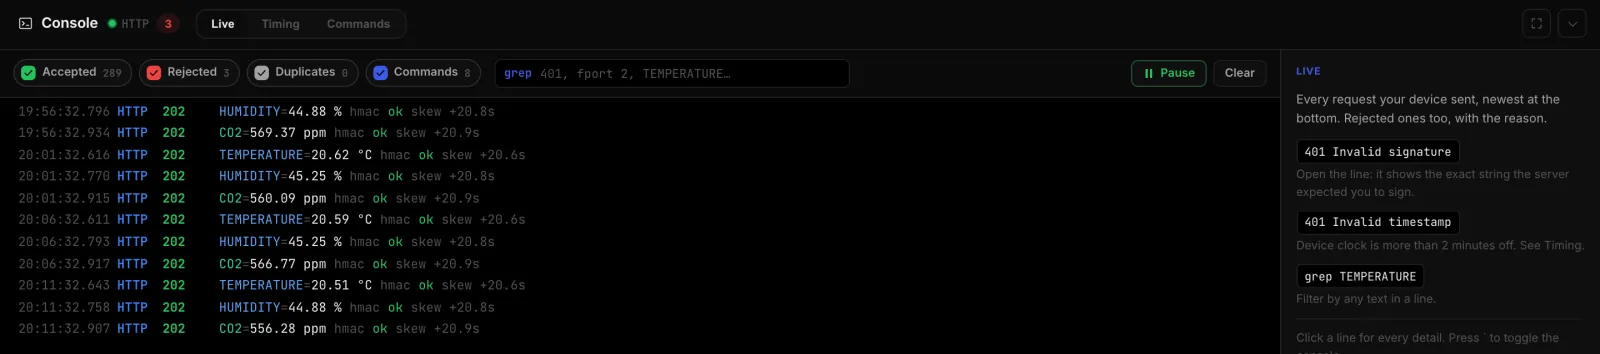
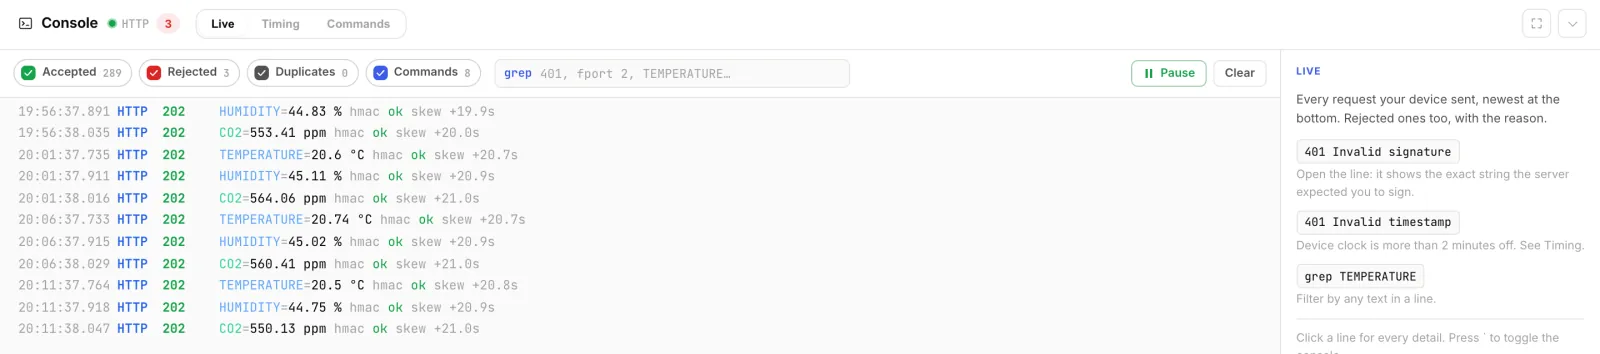
Open the serial monitor at 115200 baud. HydroNode answered 202 means accepted. Then open the sensor page in HydroNode and press ` to open the console. Every request shows up the moment it arrives, with hmac ok and how far the device clock is off.
| Answer | Meaning | What to do |
|---|---|---|
| 202 | Accepted | Nothing, all good. |
| 401 | Signature or time wrong | Check the Sensor ID and secret. The console tells you the exact reason. |
| 429 | Too fast | At most one value per measurement type every 10 seconds. |
| -2 | No time | Allow UDP port 123 (NTP) on your network. |
| -4 | Invalid type name | Use upper case: TEMPERATURE, not temperature. |
If it still gets stuck, Debugging with the device console walks you through it.
Switch a relay from the app
A HydroNode command has a name, a type and a value. Your device reports back for every command whether it took it or why not. One name can have several types: relay1 true switches on for good, relay1 1400 only for 1.4 seconds.
const int RELAY_PIN = 5;  // most relay modules switch on at LOW

void setup() {
  // WiFi and hydro.begin() as in the sketch above
  pinMode(RELAY_PIN, OUTPUT);
  digitalWrite(RELAY_PIN, HIGH);  // off after power-up

  // relay1 true / relay1 false
  hydro.onBool("relay1", [](bool on) {
    digitalWrite(RELAY_PIN, on ? LOW : HIGH);
  });

  // relay1 1400: on for 1400 ms, then off again
  hydro.onUInt32("relay1", [](uint32_t ms) {
    ms = min(ms, (uint32_t)10000);  // local safety limit
    digitalWrite(RELAY_PIN, LOW);
    delay(ms);
    digitalWrite(RELAY_PIN, HIGH);
  });
}- Send a commandOn the sensor page press Send command, name
relay1, typeBOOL, valuetrue. Or typerelay1:bool truein the Commands tab of the console. - Wait for the next roundCommands travel with the answer to the next value the device sends. With one round per minute, that takes up to a minute.
- Read the statusAcknowledged means taken. Declined names the reason, for example
NO_HANDLERwhen the device has no callback for that name and type.
Where to go next
- Rather skip the code? The Device Builder builds the same firmware in your browser and keeps it current over the air.
- When a value counts as unusual is explained in Anomalies without the noise.
- Every function of the library is in the Arduino guide and on GitHub.