 HydroNode
An ESP32-C3 SuperMini costs a few euros, so does a BME280. Tonight they become a climate sensor that runs for weeks on a battery in deep sleep and takes new settings over WiFi. No Arduino IDE, no PlatformIO, not a single line of code. Just Chrome and a USB cable.
What you need
Wiring
BME280 VIN to 3V3, GND to GND, SDA to GPIO 6 and SCL to GPIO 7. On the SuperMini those are the builder's default I²C pins. Stay away from GPIO 8 and 9: the LED and the BOOT button live there.
Start the builder
- Open FleetIn the top navigation, FleetDevice builder.
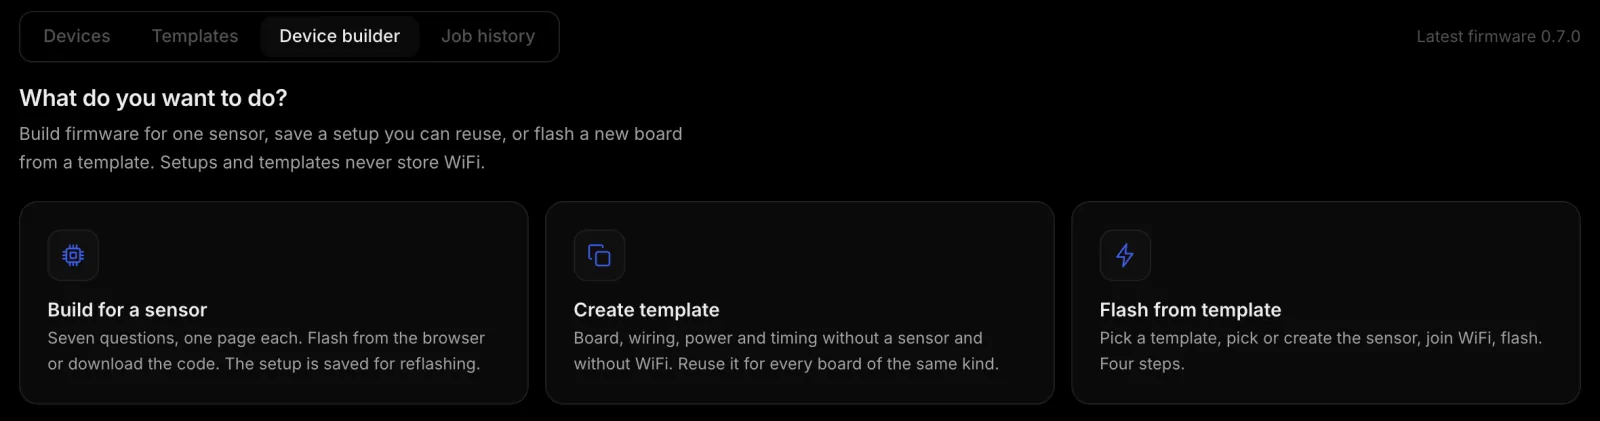
- Pick a pathFor a single device, Build for a sensor. The other two cards are for templates you use to flash many identical boards.
- SensorWhere it reports
- BoardChip and pins
- WiringSensors and outputs
- PowerSleep mode
- TimingInterval
- WiFiStays local
- FlashOver USB
Steps 1 and 2: sensor and board
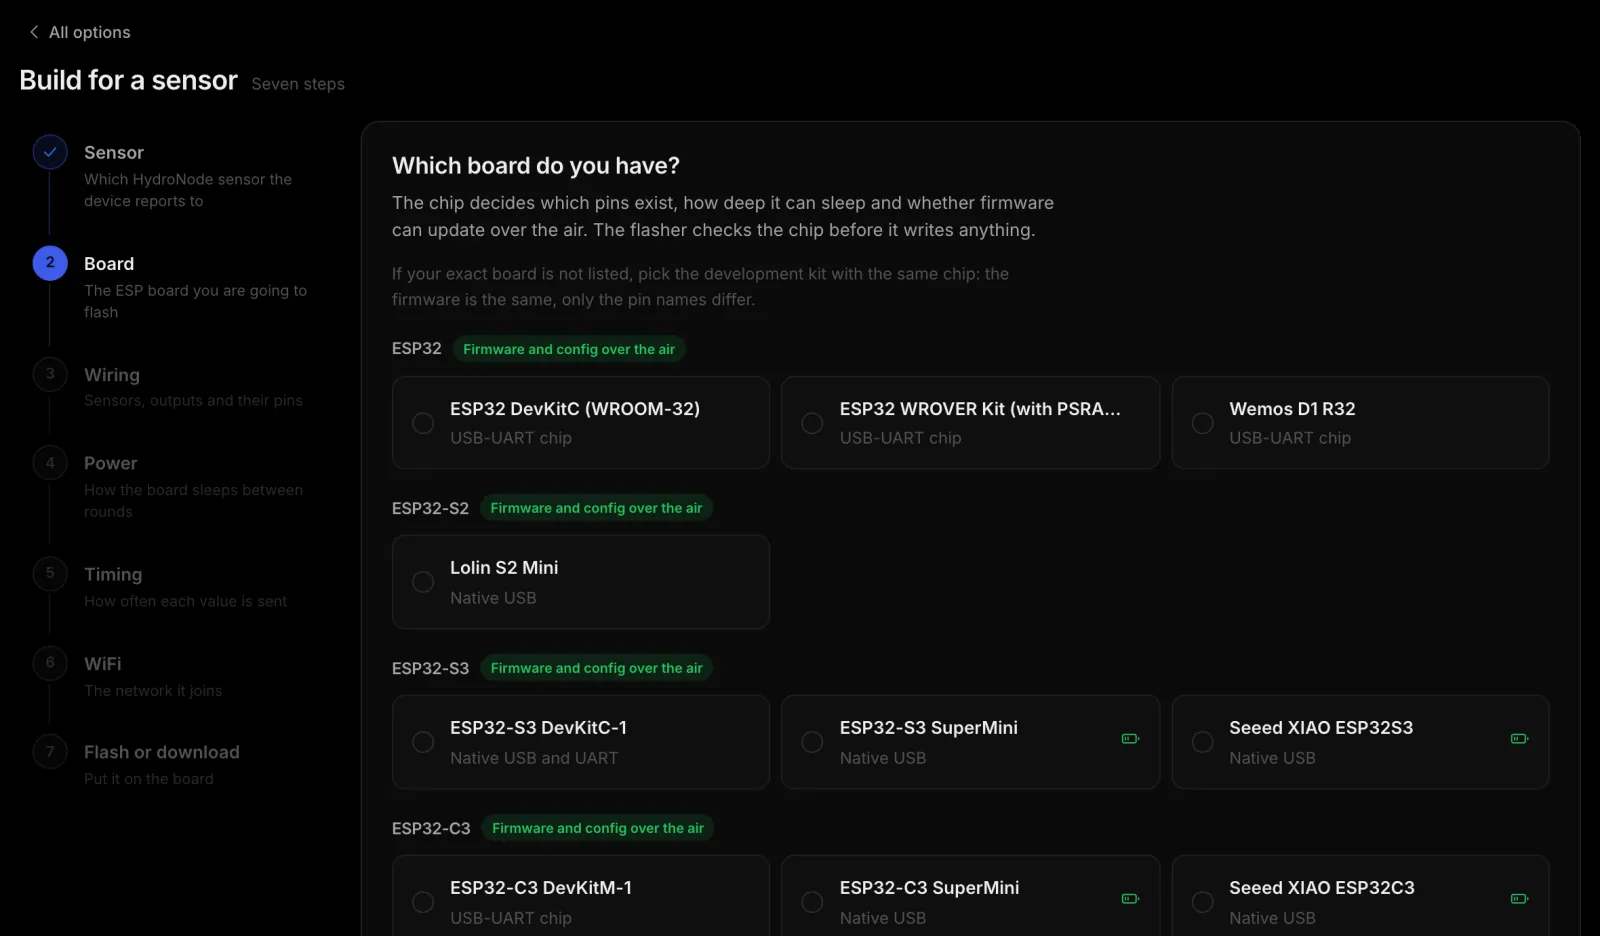
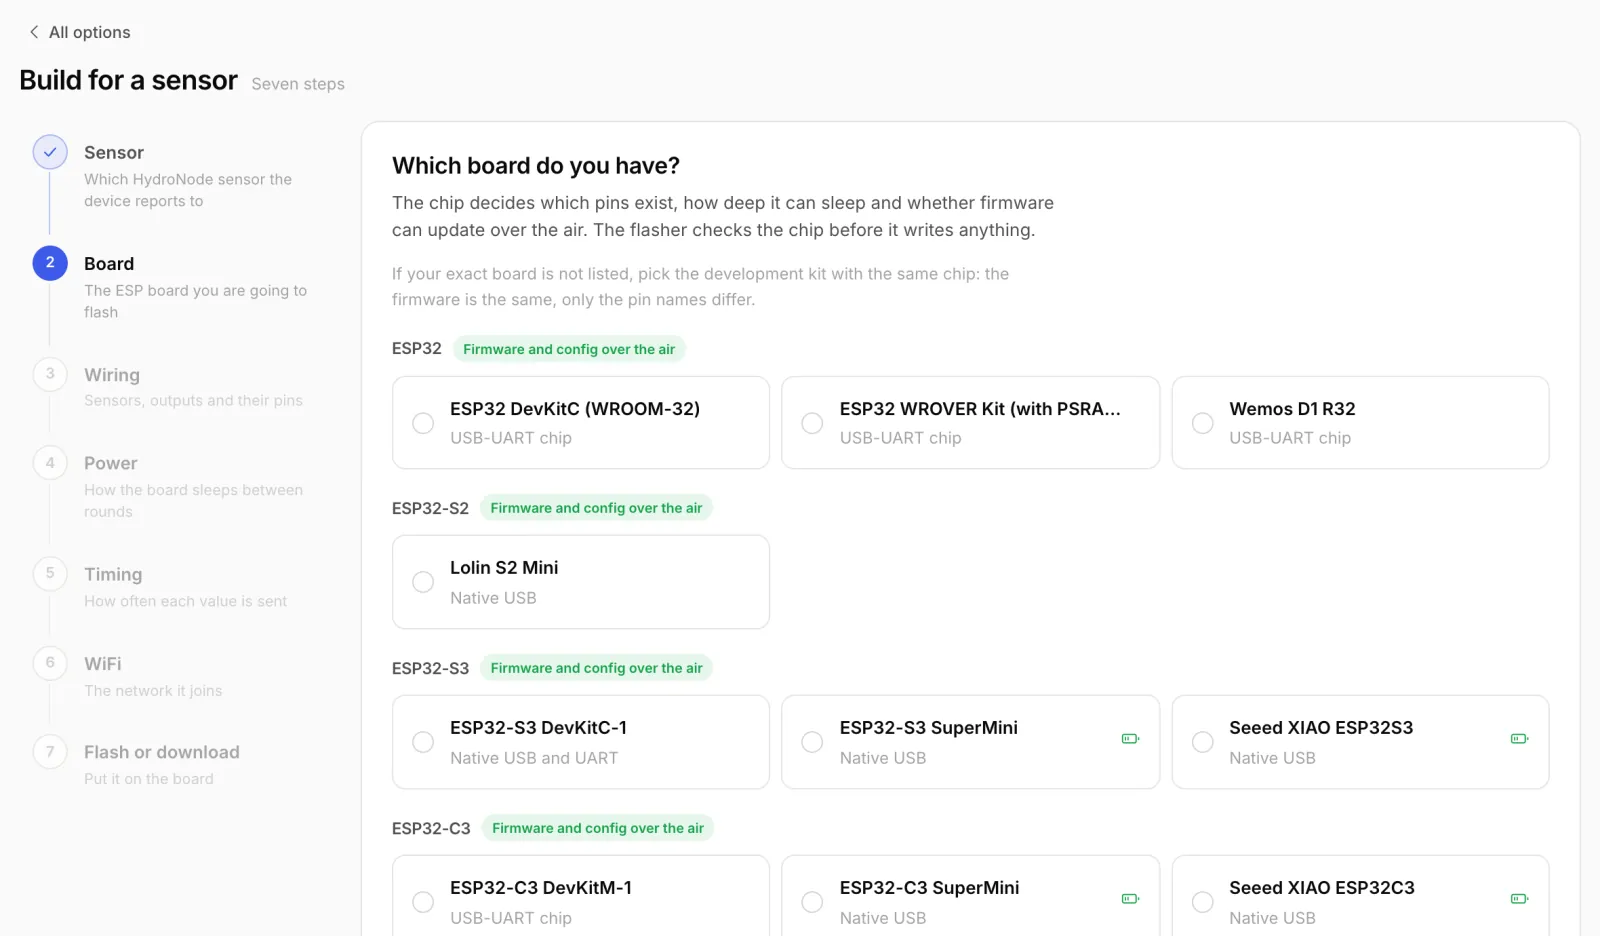
Pick the HydroNode sensor the device reports to, or create it right here. Then the board. Each chip family says what it can take over the air: firmware and config on every ESP32, config only on the ESP8266. The battery icon marks boards that draw well under 1 mA in deep sleep.
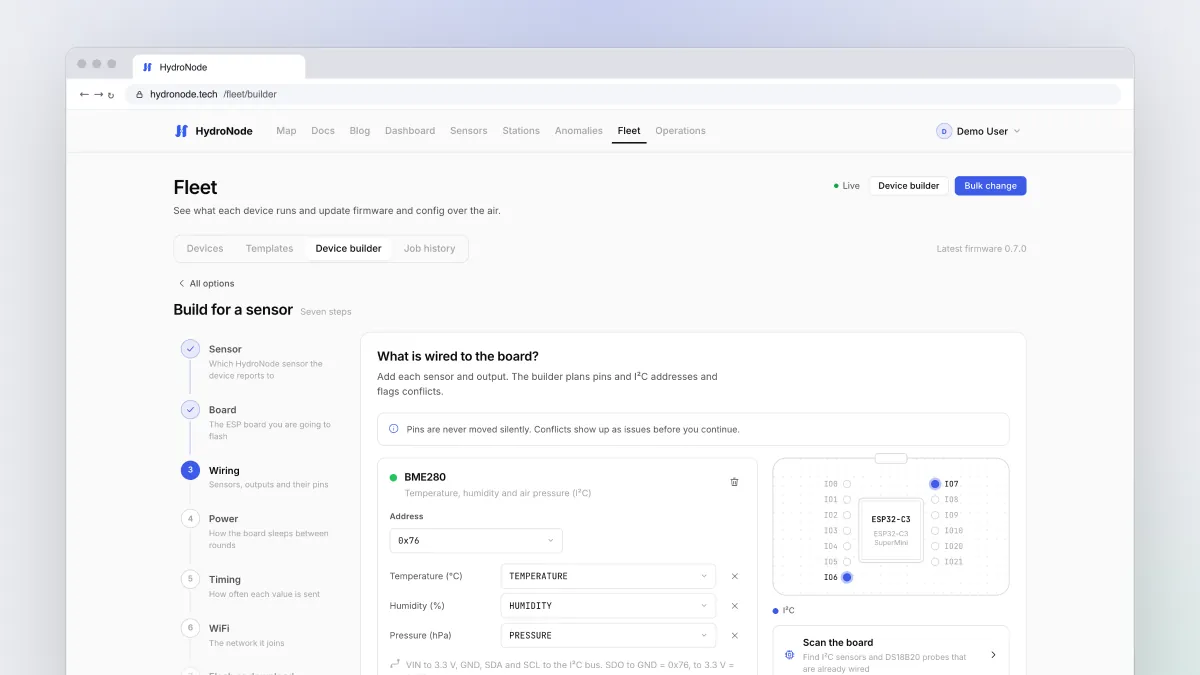
Step 3: what is wired to the board?
Click BME280 in the list. The builder puts it on the default pins, picks the address 0x76 and adds the three values as TEMPERATURE, HUMIDITY and PRESSURE. The pin map on the right shows what is taken and warns about conflicts. Pins are never moved silently.
Step 4: how it sleeps
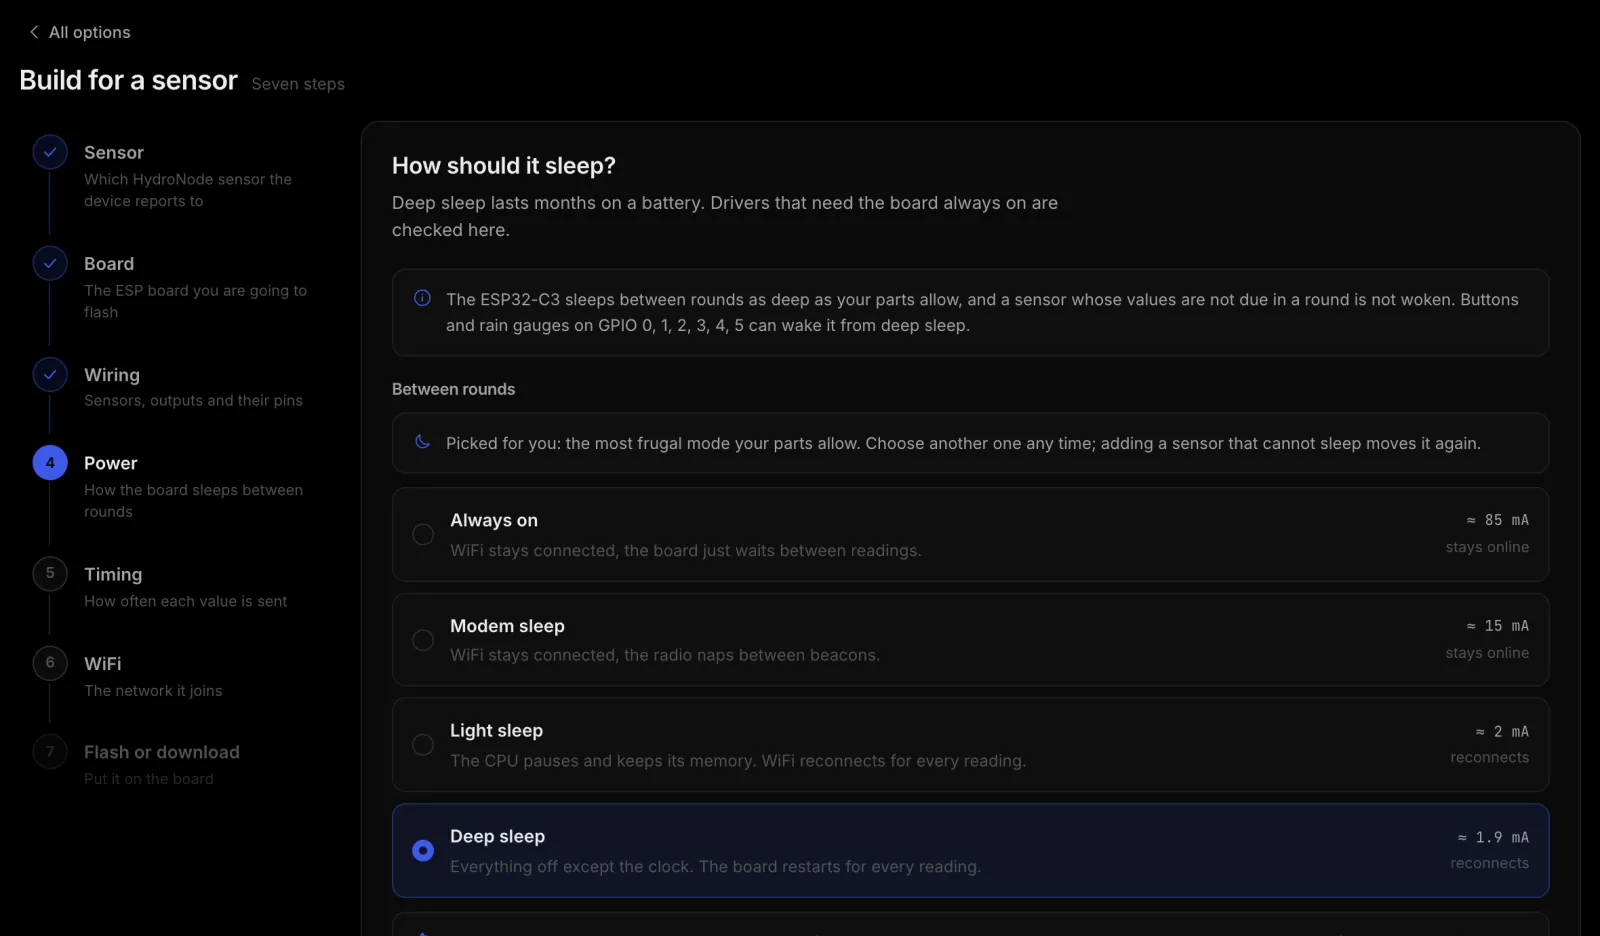
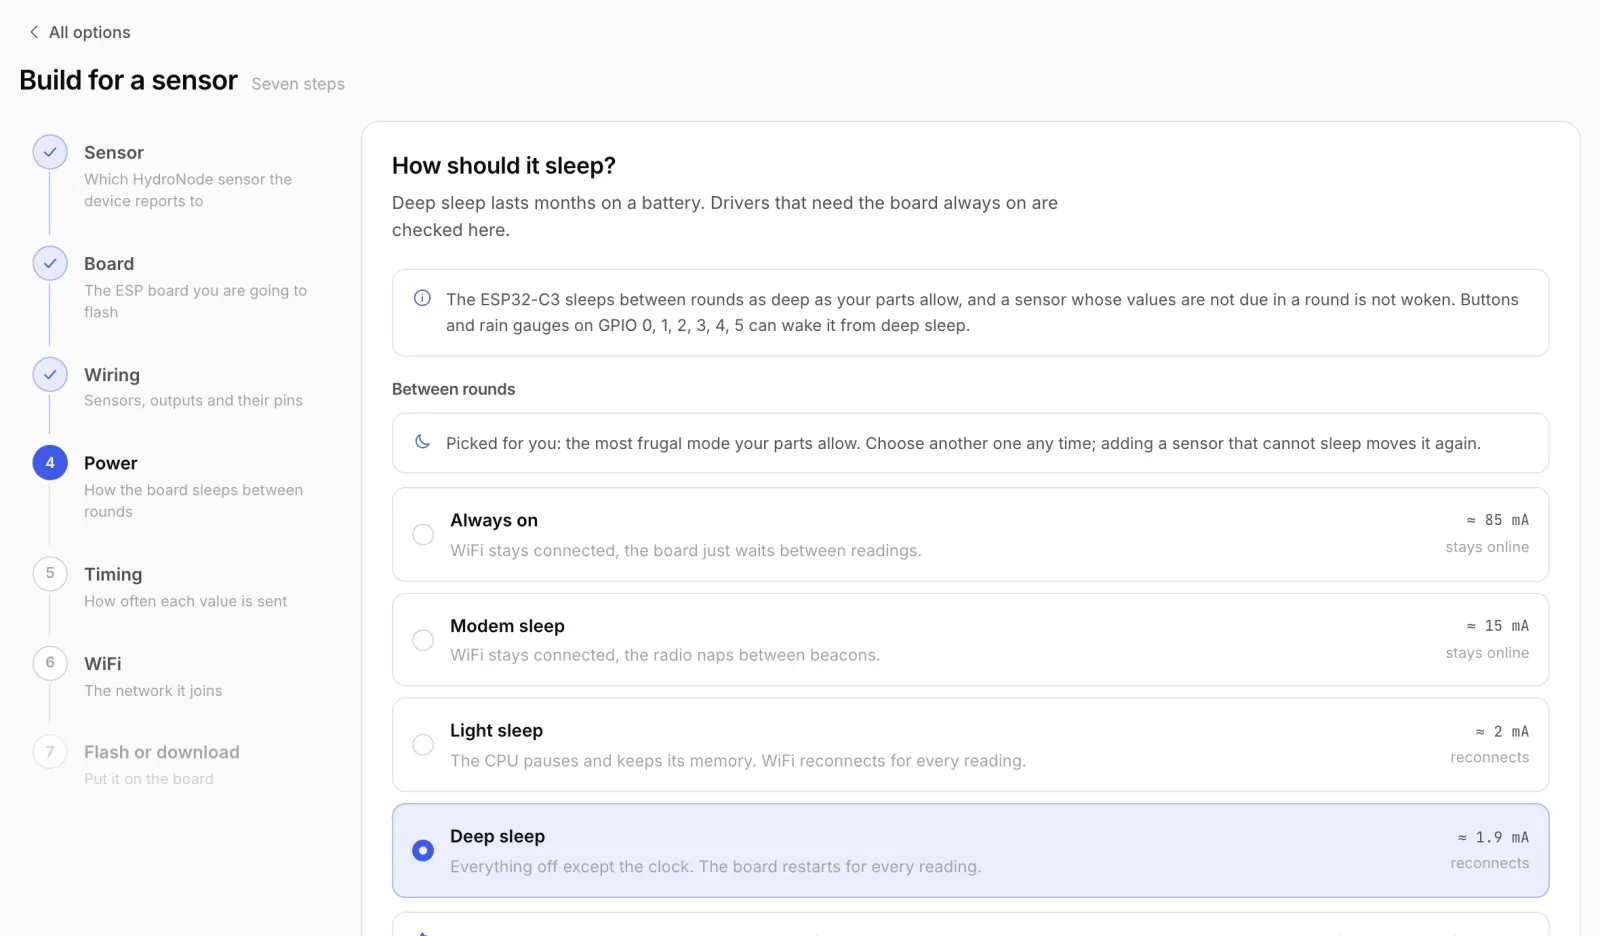
The builder picks the most frugal mode your parts allow and shows the average current of exactly this setup next to it. With a BME280 on the SuperMini that is Deep sleep. Two options are worth it: Fast reconnect remembers the access point and channel and saves one to three seconds per round. And the sensors can be switched off completely through a pin while the board sleeps.
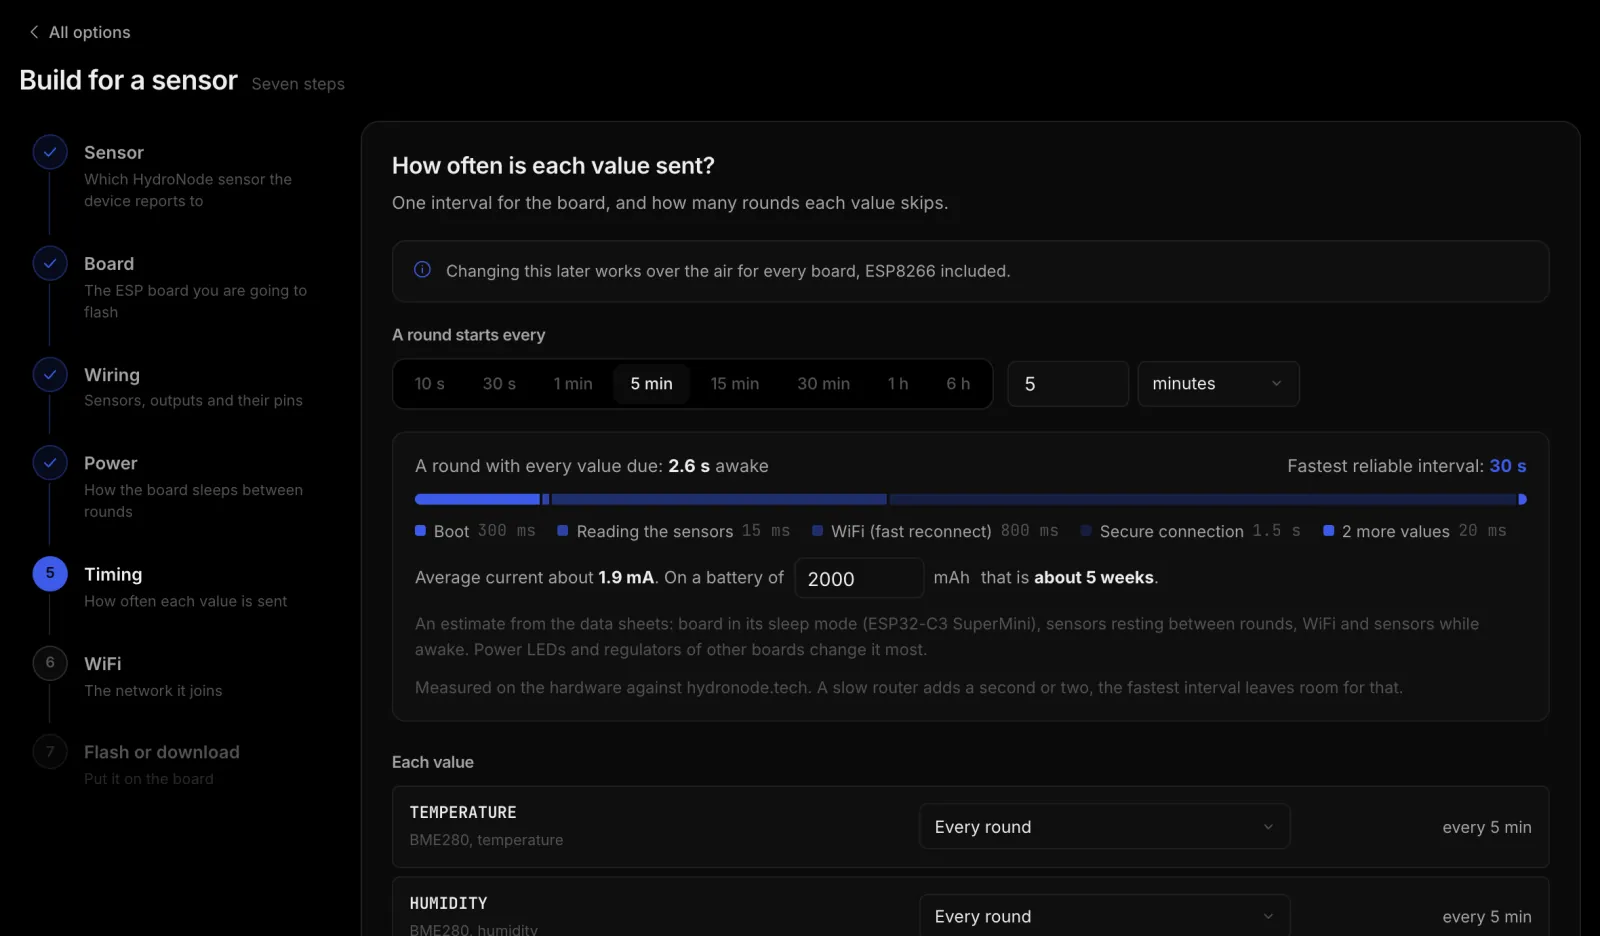
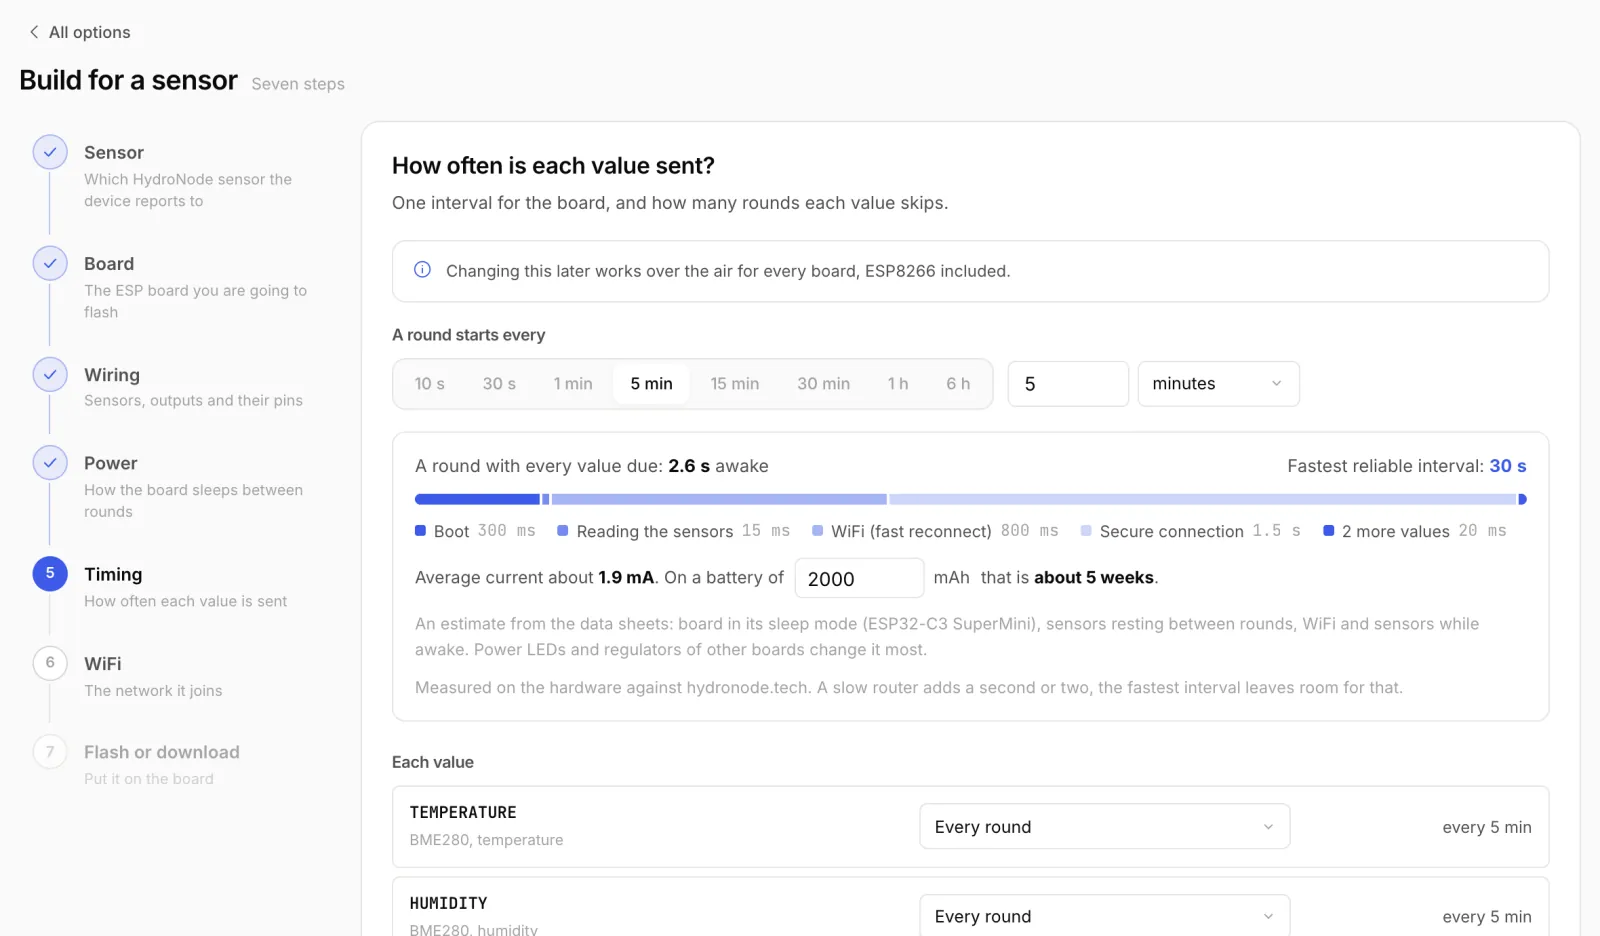
Step 5: how often it sends
One round every 5 minutes is plenty for indoor climate. The builder shows what a round costs: boot, reading the sensors, WiFi, the secure connection. Enter your battery's capacity and it estimates the runtime. Single values can go out less often, for example pressure only every third round.
Step 6: WiFi
Network name and password. The password goes from this page straight onto the board over USB and never reaches HydroNode. If you save it with your passkey, it is encrypted in the browser and fills in by itself next time, even on another computer. No details at hand? With Skip, use placeholders you can still download, just not flash.
Step 7: flash
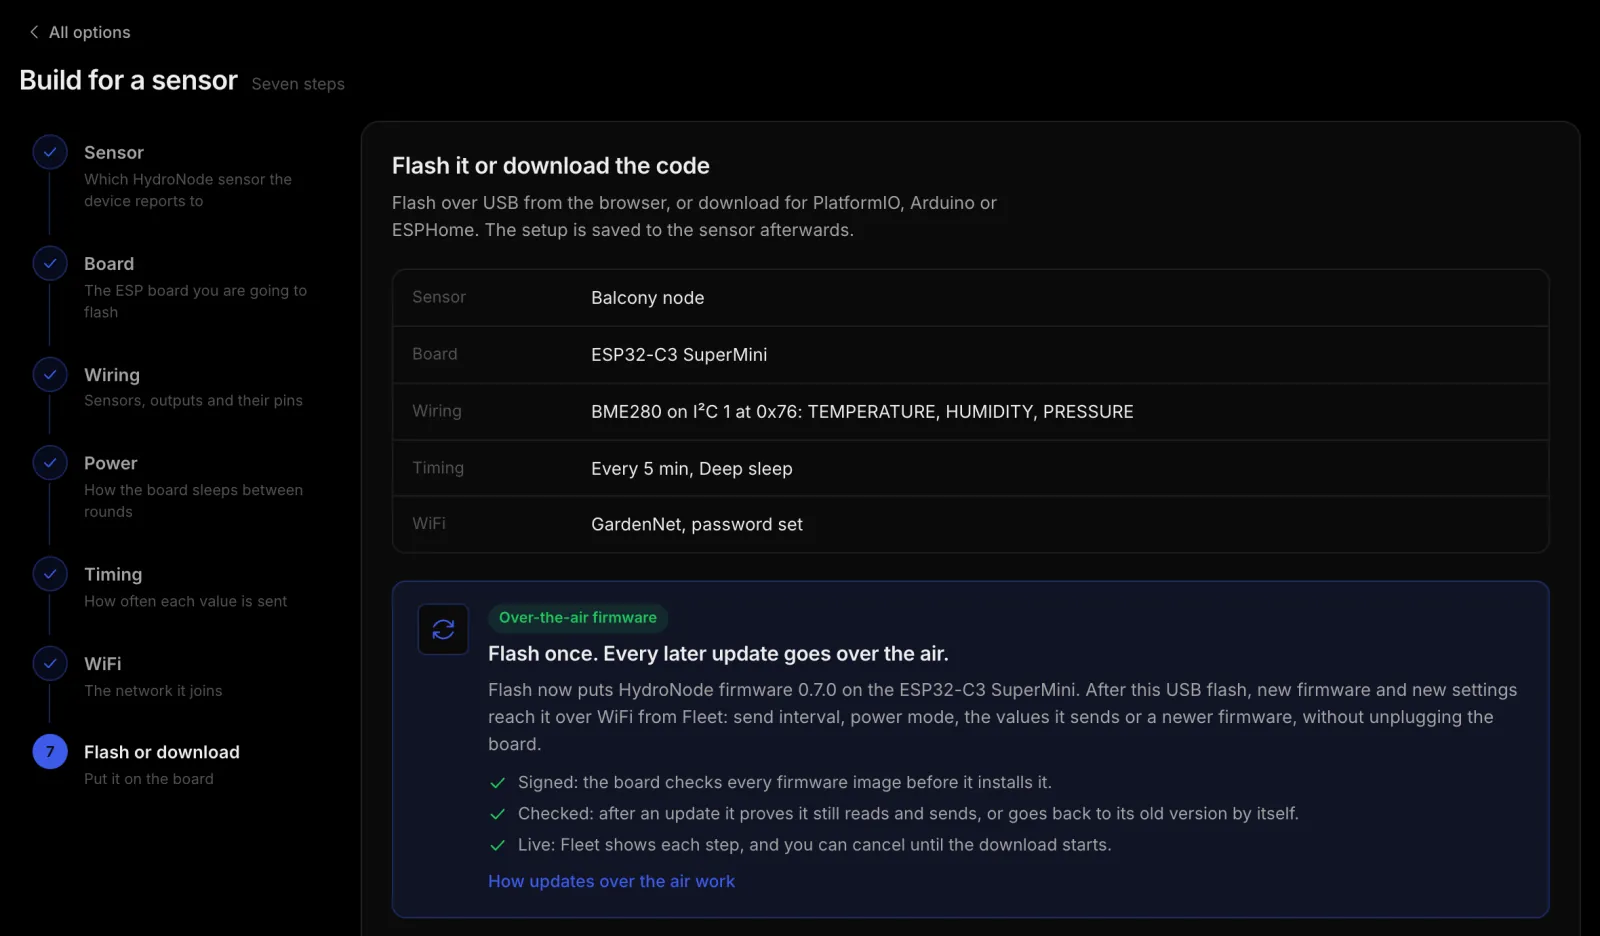
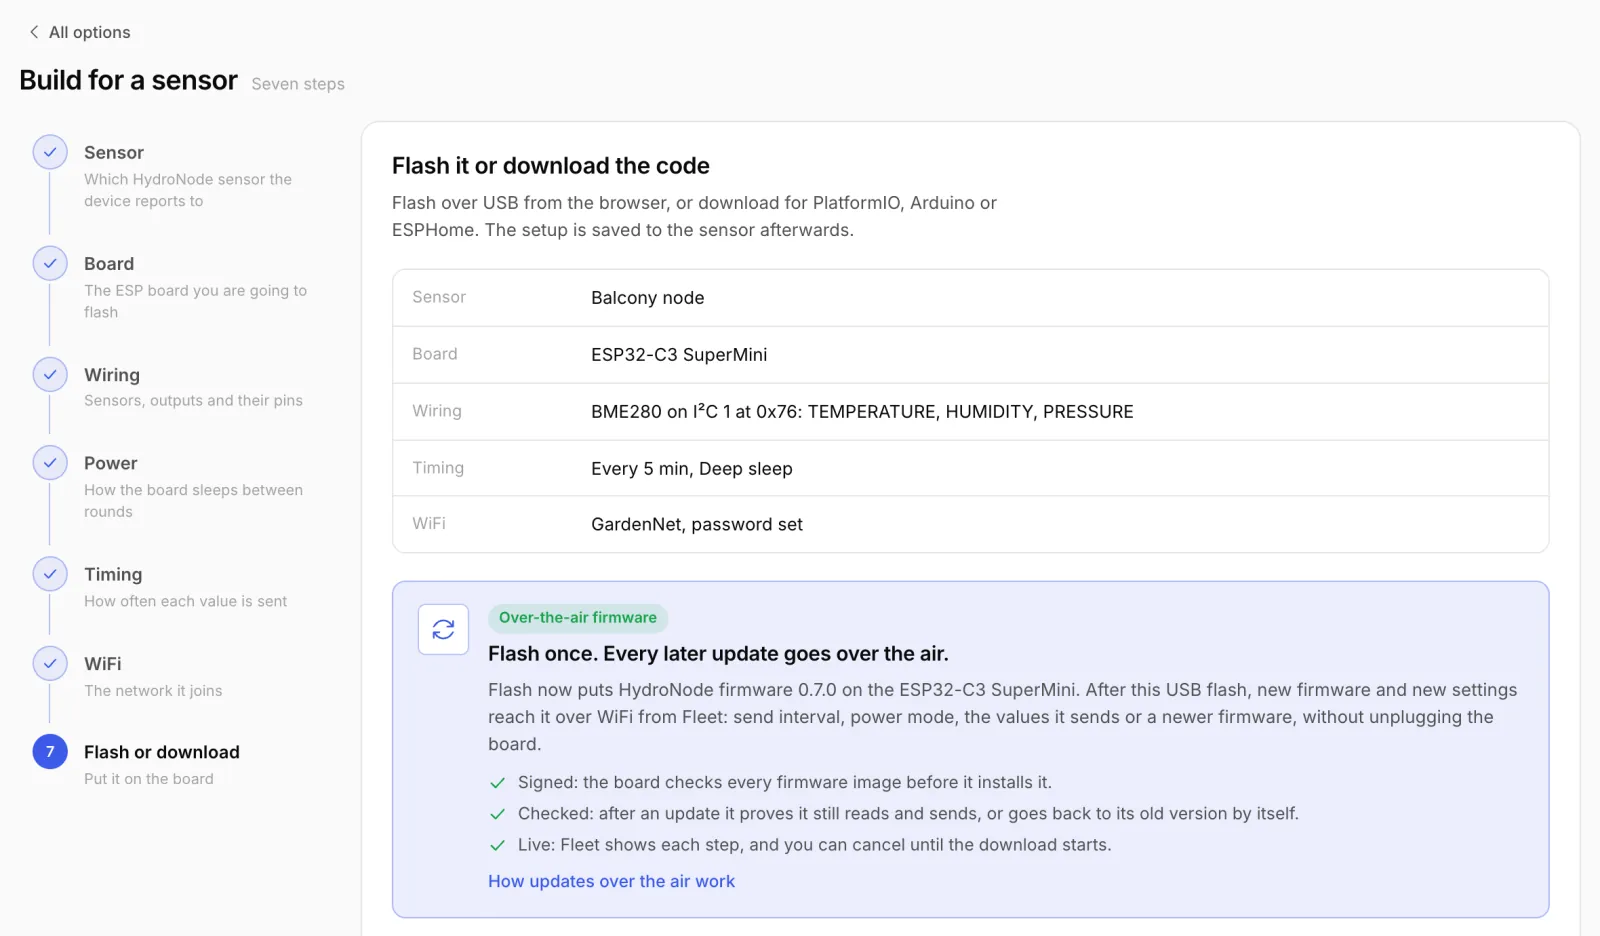
- Check the summarySensor, board, wiring, timing and WiFi are listed one more time.
- Flash nowPlug the board in and press Flash now. Chrome asks which device: pick the board.
- WatchThe page shows each phase: preparing, connecting, writing, restarting. Then it follows the board until its first reading arrives. That takes about a minute.
Prefer your own code? The same page offers a PlatformIO project, an Arduino sketch or ESPHome YAML to download. Those devices do not get updates from Fleet, though.
And afterwards?
The setup is saved on the sensor under SettingsDevice setup. From there you reflash it with one click, for example onto a spare board, or keep it as a template. Fleet lists the device with its firmware and config revision. When you later want a different interval or a second sensor, press Change config there and the change goes to the board over WiFi. The details are in Update every device over the air.
Read more
- The first value is in: Anomalies without the noise explains what HydroNode does with it.
- Every sensor, output and sleep mode: Device Builder docs.