 HydroNode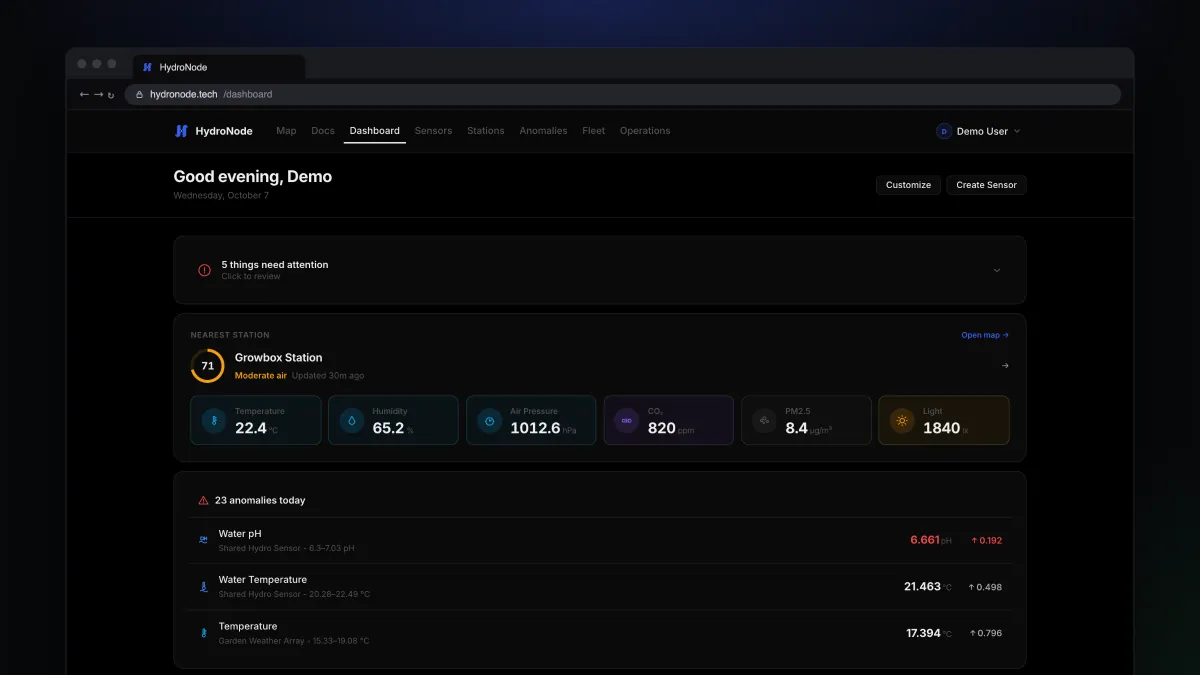
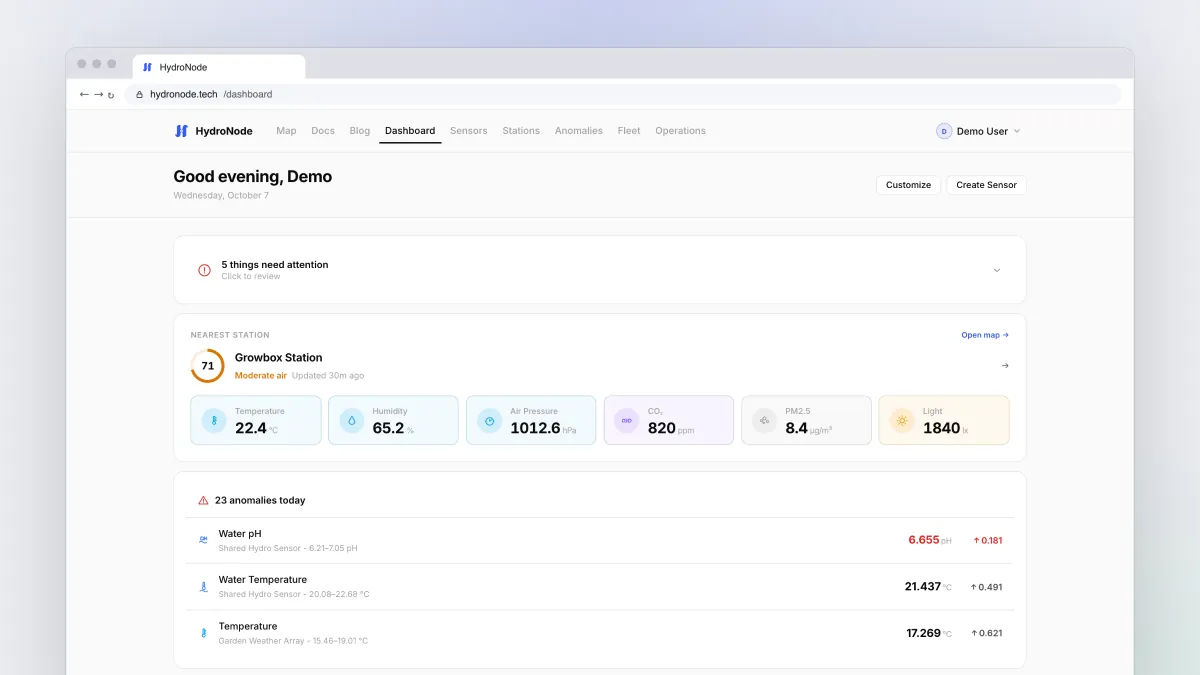
You have a sensor on your desk and want to see what it measures. Without running a database, without a server and without coding a dashboard first. That is what HydroNode is for. This tour shows you where everything lives and which path fits your hardware, in one evening.
What HydroNode is
HydroNode is a free platform for environmental sensors. Your device sends readings, HydroNode stores them, draws the charts, learns what normal looks like and gets in touch when something drifts out of line. It works for hydroponics, greenhouses, weather stations, indoor air, soil moisture and water tanks.
Your first sensor
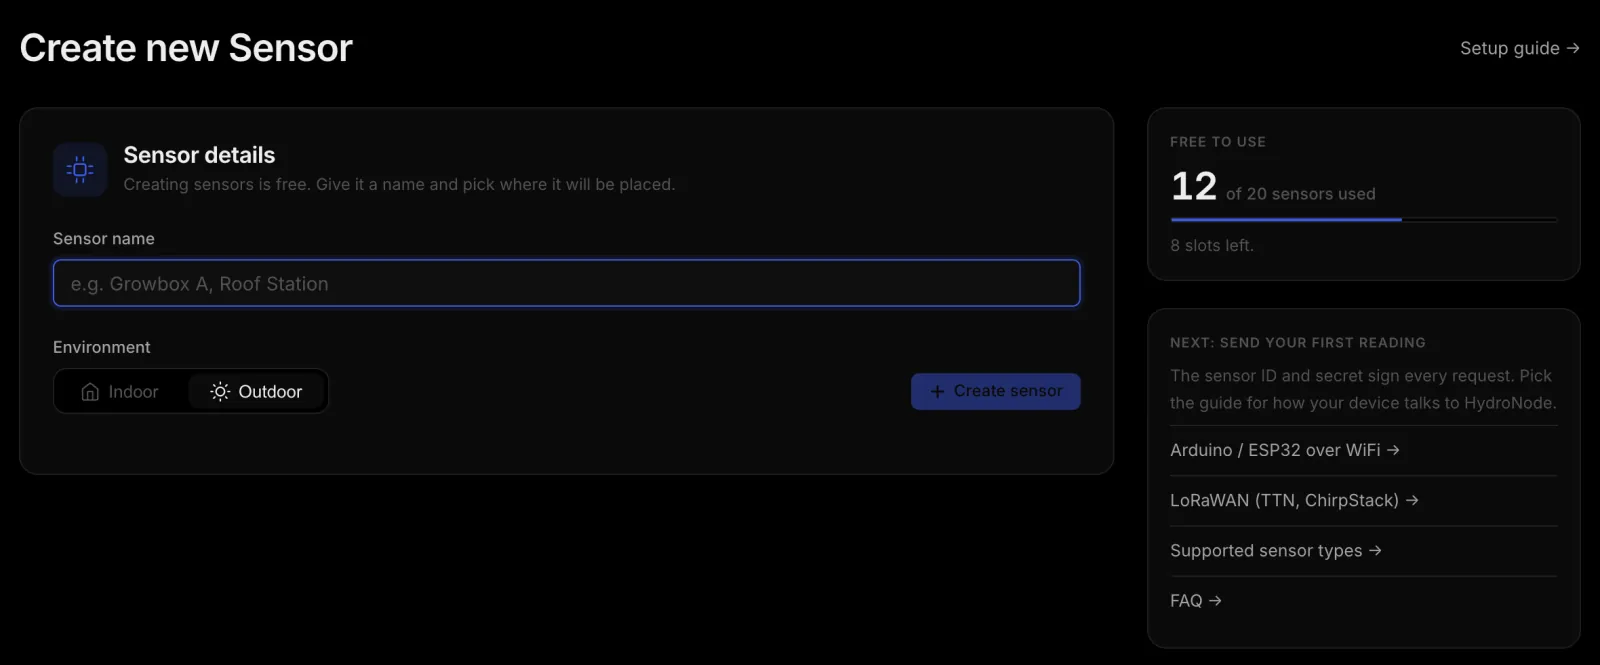
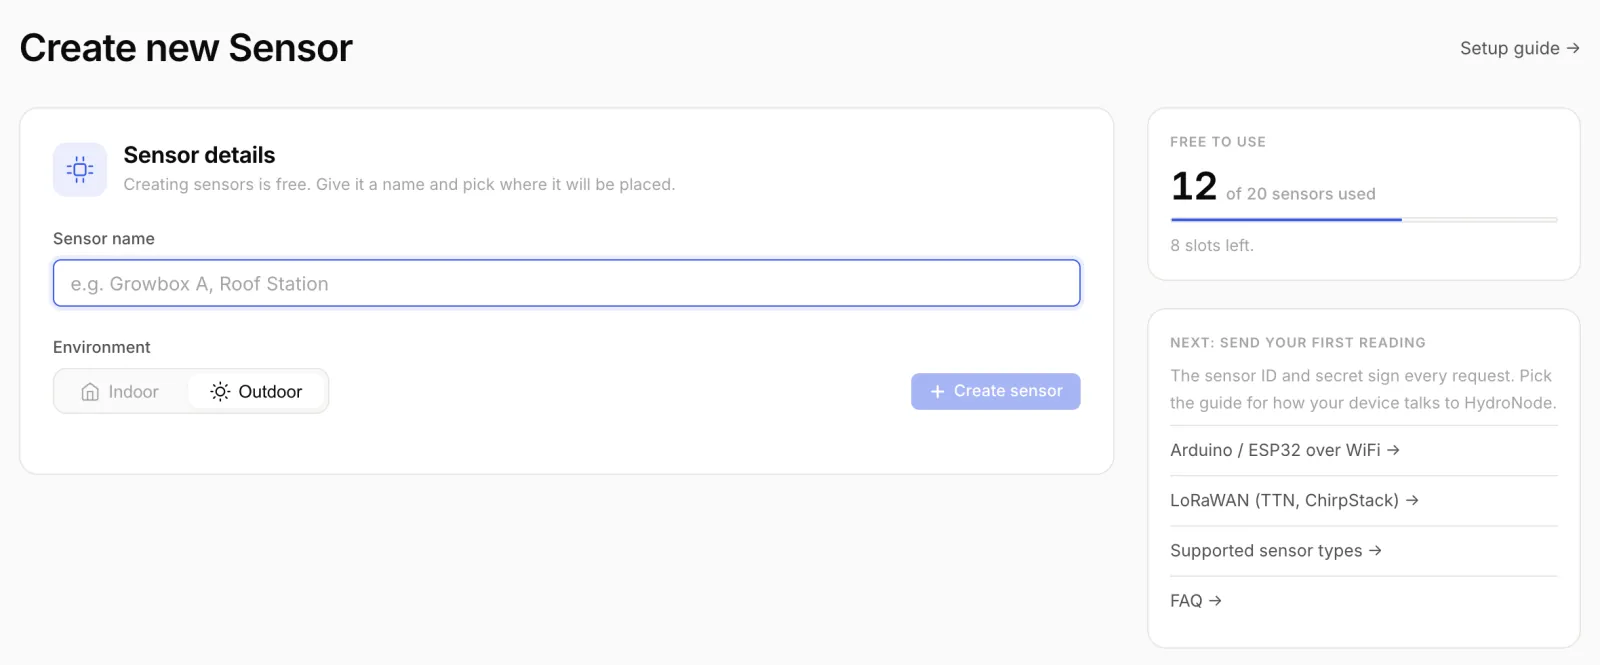
In HydroNode a sensor is the identity of your device. It gets an ID and a secret, and every request is signed with them. Here is how to create one:
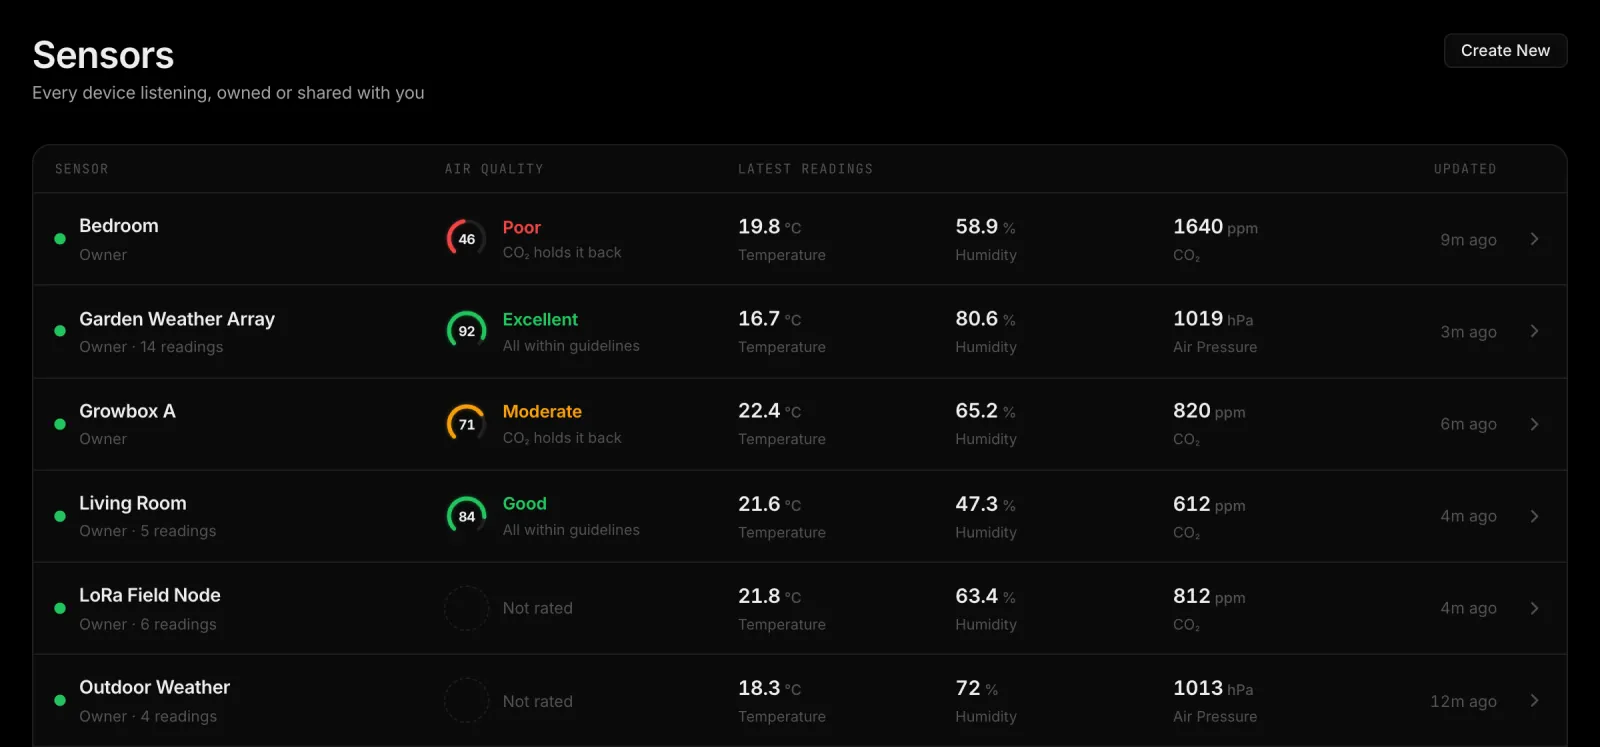
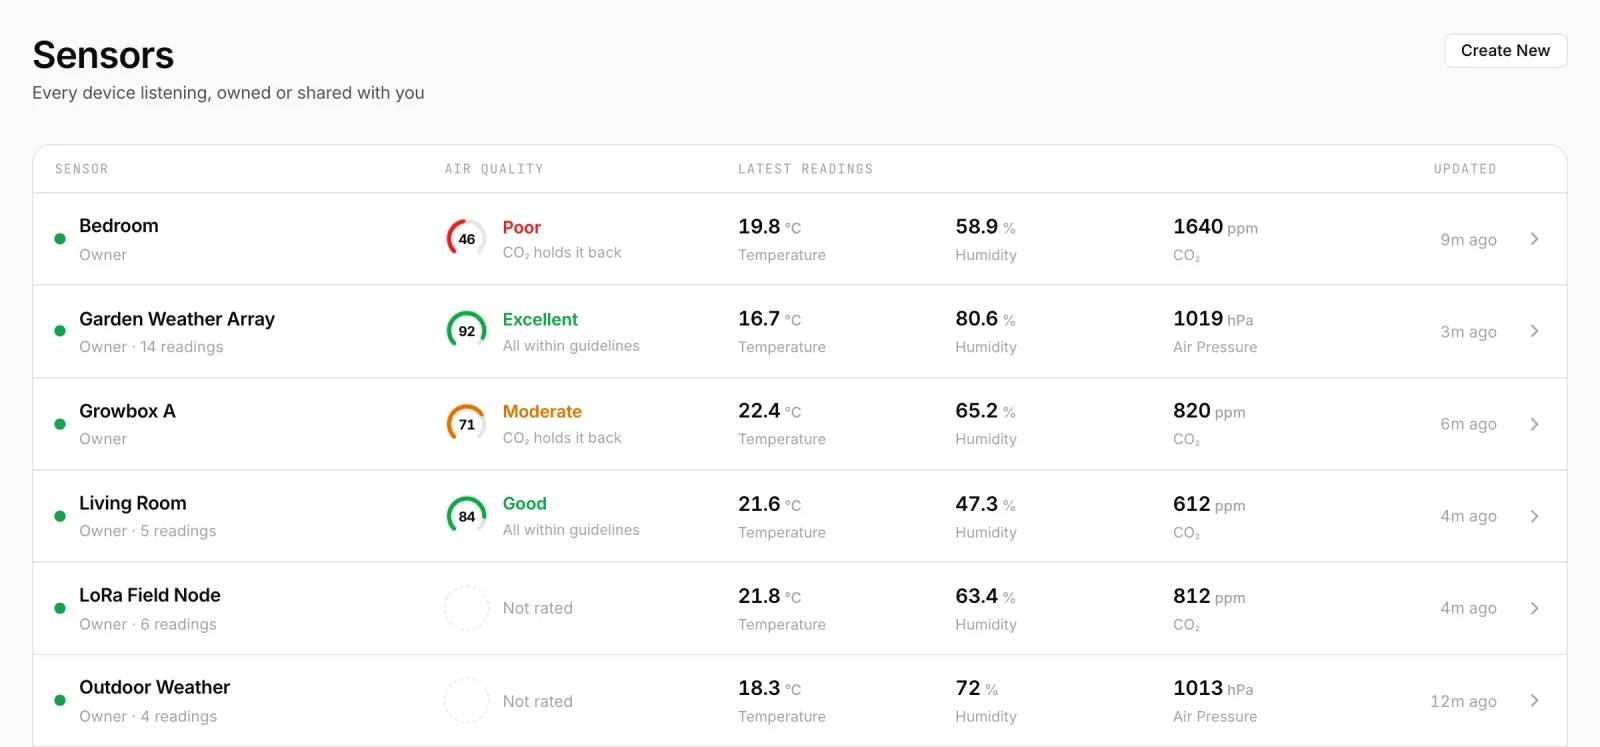
- Open the sensor listClick Sensors in the top navigation, then Create New on the right.
- Give it a nameFor example
Growbox AorBalcony. The name shows up everywhere: charts, push messages and Home Assistant. - Pick the environmentIndoor for rooms, grow boxes and greenhouses, Outdoor for anything outside. It decides which guidelines apply and what counts as normal. Only outdoor sensors can later appear as a station on the map.
- Create itPress Create sensor and you are done. The Sensor ID and secret are always under SettingsConnection.
Which path fits your hardware?
Before you solder or install anything, have a look at the options:
| You have | Use | Guide |
|---|---|---|
| An ESP32 or ESP8266, no time for code | The Device Builder in your browser | ESP32-C3 without code |
| Your own Arduino sketch | The HydroNode Arduino library | Arduino quickstart |
| A device running ESPHome | The external ESPHome component | ESPHome |
| A LoRaWAN device | A webhook from TTN, ChirpStack or Helium | LoRaWAN guide |
| Home Assistant | The integration from HACS | Home Assistant |
What happens to a reading
Whichever path you pick, every value goes through the same chain. It is checked, stored, compared with what HydroNode has learned and then shows up everywhere at once.
- DeviceESP32, ESPHome or LoRaWAN
- Signed requestHMAC SHA256 or webhook token
- ChecksTargets, guidelines, learned band
- EverywhereWeb, app, widgets, Home Assistant
The sensor page
Click a sensor in the list. At the top you see the current value, below it the chart with the learned band as a soft shaded area. On the right sits the anomaly panel with open incidents and the latest AI explanation. At the very bottom waits the device console, which opens with the ` key.
Incidents instead of alarm floods
HydroNode compares every value with three things: your own targets, published guidelines such as the WHO values, and the learned normal range. Findings that belong together become one incident instead of ten messages. How to tune that is in Anomalies without the noise. And when a sensor goes silent altogether, read Know when a sensor goes quiet.
Fleet and updates over the air
As soon as you have more than one device, Fleet becomes your control room. It shows every device with its firmware, config and last contact. A board you flashed once with the Device Builder gets new settings and new firmware over WiFi from then on. What that looks like day to day is in Update every device over the air.
On your phone and in Home Assistant
- iPhone and iPad: the HydroNode app with home and lock screen widgets and Live Activities that keep updating while they run.
- Android: in development, with the same widgets and push notifications.
- Home Assistant: every sensor as a native entity, live over WebSocket.
Next steps
- Create your first sensor.
- Pick your path in the table above and follow its guide.
- When the first value arrives, open the console and watch it come in.
Questions this tour does not answer are in the FAQ.